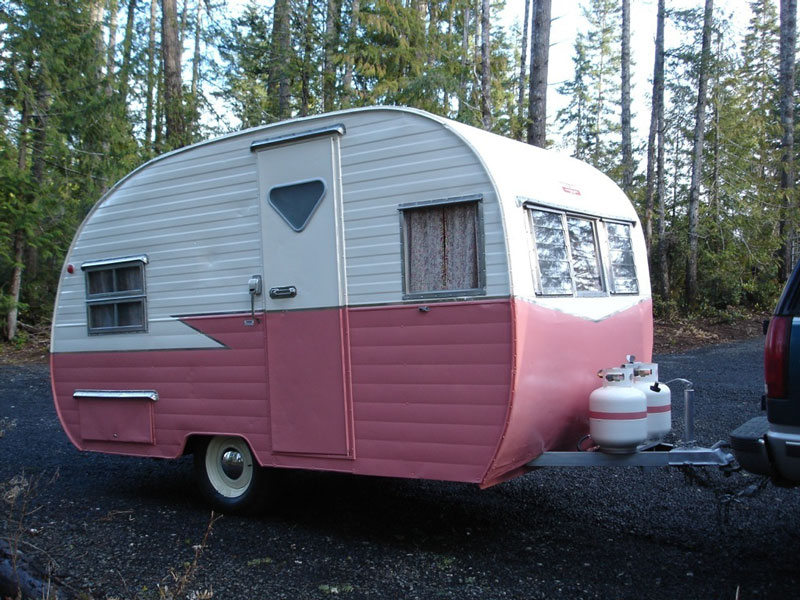
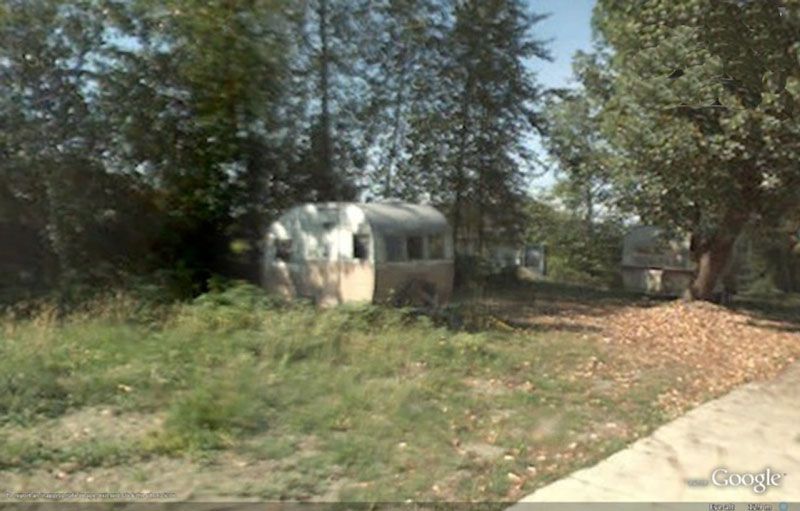
While responding to an ad for a used trailer one day, we happened to notice an old, faded pink trailer under a tarp in some blackberry bushes in the fellow's side yard. We forgot about the other trailer, and poked our heads in "old Pinky". We looked at each other in disbelief. We could not believe how great it was. The owner was surprised that we were even interested. He gave us a price we could not walk away from.
After we got it home, I realized there was quite a bit of hidden rot and mold in the wooden framing in the rear.
Nothing a little work couldn't cure.. No we couldn't camp in it until the next summer, but it was worth the wait..
I wasn't sure where to start, but after watching Larry's DeVille Restoration Videos on You Tube, I was able to proceed with bit more confidence.
I first removed the drip "J" rails and rear window to get at that really dented-up rear aluminum panel. It was held on with 2 1/2" framing nails added by someone in the past. As soon as I removed a few nails, most of the rotten wood frame fell out on the ground, along with some rather startled beetles.
Further inspection revealed that the rot had spread from the rear to most of the right side. The top right side had also been leaking water through the drip rail seam and had rotted most of the roof framing. Luckily, the tire on the right side was smaller than the one on the left, so the water had been running to the right all these years. That meant the left side was less affected.
I had to remove all of the metal one side at a time to replace rotten framing and birch panels. Someone in the past had put new birch over the old rotten stuff on the ceiling and walls. There was a lot of mold in the walls and insulation because of this.
I had to wear a respirator at times, as the mold was making me sick working on it outdoors.
While I had the roof and sides off, I replaced all of the 110V wiring, installed styrofoam sheet insulation, 6 mil plastic vapor barrier, and repaired a broken propane line for the interior light. This was also a good time to repair the wiring for the running and tail lights.
I also removed some 12v interior lights and wiring that was not original to the trailer and did not look right. We decided to try to make this as original as possible.
Someone in the past had converted the fixed bed in the rear to fold up into a couch. We liked the versatility of that, so we left it. I just had to rebuild most of the couch/bed frame due to rot and bugs.
I learned that this Mobile Scout had a lot of non-standard parts that other trailers did not use, so it was next to impossible to find parts. I had to make some myself. I had to buy a new poly FW holding tank as the old one was missing. The filler spout was broken, and I didn't like the look of the newer plastic ones, so I installed a flush-mount stainless marine filler. since the city water connection was only an old hose stuck through a hole in the floor, I added a new one on the curb side wall just below the water fill. I have it below the level of the rest of the water line to make it easier to drain for the winter.
I reused the metal siding and roof. I only replaced the rear panel since it was banged-up beyond repair. I had to do a lot of bondo work and sanding on the larger dents and creases. Someone had really messed-up the metal on the baggage doors trying to pry them open sometime in the past. If I were to do it again, I probably would have replaced more metal, as the dents and dings are even more enhanced with the new paint job.
I went with Grote recessed LED lights that looked like the original tail lights. It still looks vintage, but with an LED upgrade.
Lots of eBay parts and 6 months later, I finally got all the metal back on, and the windows installed just in time for camping the next Summer.
We took it several places in WA state throughout the summer while I was fixing this, and sanding that. We really liked the amount of cabinet space this one had to offer.
When Labor Day passed, it was time to finish up the body work and paint it. After much research and advice, I went with a 2-part polyurethane paint over shop primer. The poly only ran about $45.00 a gallon. I had Forrest Paints in Kent custom mix the 50's pink color. It flows nice and is hard as nails once cured - perfect for a trailer. I purchased a $50.00 HVLP paint gun from the local auto parts store, and rented an 8 cfm compressor. I waited a bit late in the season - early october. It was a little too humid and cooler than I would have liked. There is some light orange peel here and there that I will need to fix. But I finished painting it the day before our rainy season (8 months long) hit.
I was able to find a great decal company that could make the decals custom from just a few photos - www.kickassdecals.com. They made the rear stickers and the custom nameplate sticker by the door. Larry at Retro Restorations had a Mobile Scout front decal left over from one of his restorations that he was nice enough to sell me.
We still need to re-do the cushions, and refinish a few more of the cabinets. I am also still trying to get two matching wheels that I can find hubcaps for. This one takes 15" wheels with a 5 on 5 1/2" lug pattern. Rather tough to find. I picked up some Armstrong Commercial VCT tiles in a retro looking pink for the floor. I should have the old linoleum replaced by next spring.
I have never tackled anything like this before. I sure learned a lot along the way - with lots and lots of advice from Larry. Restoring these old trailers gives you a chance to learn basic carpentry, sheet metal work, cabinetry, flooring, body work, windows, locks, wood refinishing, painting, electrical, plumbing, sewing, and a LOT of patience.
Below you will find a table of before and after photos. There are also some photos of the work in progress. Click on a photo and you will be directed to a larger photo. Use your BACK BUTTON to come back to the table of photos.
I want to thank:
Sean at www.Kickassdecals.com for working so patiently on designing the custom decals.
Steve at Vintage Trailer Supply for all of his valuable advice and time spent on the phone.
Napa Auto Parts in Shelton for the time spent pouring through catalogs to find just the right tail lights for me.
Sundance RV in Shelton for the miles of putty tape and other parts and advice.
Steve and Steve at Forrest Paint for all the time spent on the phone and the great custom color paint.
The guys at Les Schwab for finding a way to get a 6" wide rim to fit in a wheel well meant for a 5" rim.